



In compact bedrooms, nightstands are often the first casualty of limited square footage. When an apartment bedroom measures just nine or ten feet across, placing traditional freestanding bedside tables on either side of a queen bed chokes walkways, blocks closet doors, and leaves the room feeling cramped. Yet, without a bedside surface, you have nowhere to place your water glass, reading glasses, bedtime book, or charging phone.
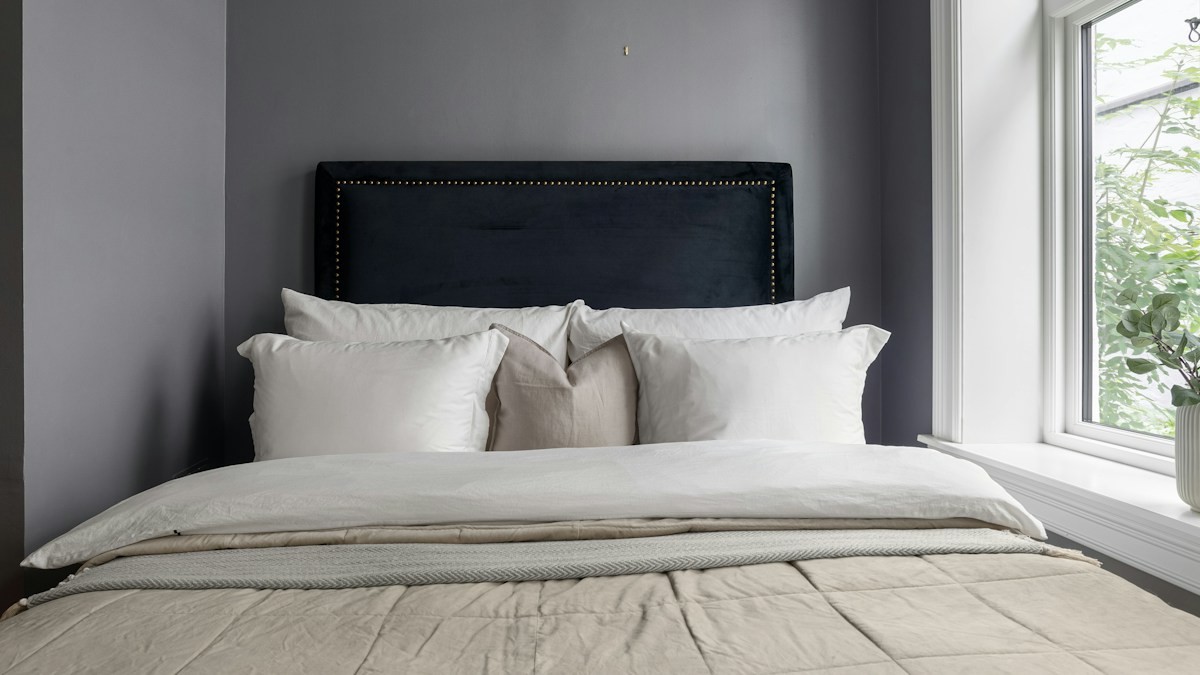
The ultimate architectural solution to this spatial dilemma is the concealed storage headboard. By taking advantage of the vertical depth behind your mattress—typically a wasted 8 to 10-inch cavity—you can engineer a stunning, custom headboard featuring dual pull-out side shelving towers, a top-access hidden utility bay, and concealed power cable management.
In this comprehensive DIY carpentry and design guide, we provide complete architectural plans for building a concealed headboard storage unit. You will learn lumber selection standards, full-extension drawer slide joinery, soft-close gas-strut lid installation, internal electrical safety integration, and foam upholstery wrapping that rivals luxury Italian furniture.
Architectural Geometry and Spatial Planning
Designing an ergonomic headboard requires balancing mattress thickness, sitting angle, and slide-out clearances.
Calculating Depth: The 8.5-Inch Golden Ratio
A functional concealed storage headboard requires an exterior depth of exactly 8.5 to 9 inches. Anything shallower than 8 inches leaves insufficient width for slide-out shelves to hold paperback books or water bottles. Anything deeper than 10 inches pushes the mattress too far into the room, stealing valuable foot-of-bed walkway space.
The height should measure 48 inches from finished floor, providing an ergonomic backrest when sitting up in bed with pillows.
Side Slide Clearance Verification
Before committing to slide-out side towers, verify that you have at least 26 inches of clear lateral wall space on both sides of the bed frame. The pull-out towers slide out horizontally parallel to the headboard wall.
If one side of your bed is pushed against a wall, modify the design to feature a pull-out tower on the open side, and top-hinged drop-down compartments on the obstructed side.
Building the Slide-Out Shelving Towers
Heavy-duty ball-bearing slides ensure whisper-quiet, frictionless pull-out access to all bedtime essentials.
Cabinet-Grade Birch Plywood Joinery
Construct the interior slide-out towers using 1/2-inch Baltic birch plywood joined with pocket hole screws and wood glue. Build four horizontal shelf tiers with 1.5-inch raised front lip rails.
The raised front lip prevents books, glasses, and prescription bottles from toppling off the shelves when the tower is pulled rapidly out from the headboard chassis.
Full-Extension 100-Pound Ball-Bearing Slides
Mount pair sets of 24-inch full-extension heavy-duty ball-bearing drawer slides to the bottom and top edges of each tower. Ensure the slides feature soft-close dampening cylinders.
Soft-close hardware prevents jarring slamming noises when closing the towers at night, ensuring your sleeping partner remains completely undisturbed.
The Top Secret Bay and Integrated Power Management
Conceal tangled charging cords and power bricks inside an accessible top flip-lid cavity.
Soft-Close Gas Struts and Finger-Pull Hinges
The top crown of the headboard features an 8-inch deep continuous horizontal lid mounted with concealed European piano hinges and twin 40N soft-close gas struts. The gas struts hold the wooden lid open safely while you plug in devices, preventing lid slamming.
Route a continuous recessed finger-pull groove along the underside front lip, eliminating the need for visible exterior metal hardware.
Internal Surge Protection and Cord Pass-Throughs
Mount a UL-listed, fire-rated metal surge protector inside the hidden top compartment, running its heavy-duty power cord out through a sealed brush grommet in the bottom backboard directly to your wall outlet.
Install silicone cable-routing grommets along the front lip of the well, allowing phone and tablet charging cables to emerge discreetly right at mattress height with zero dangling wires.

Concealed Headboard Dimensional and Hardware Specifications
| Headboard Component | Optimal Dimensions | Recommended Lumber / Material | Hardware / Slide Mechanism | Concealed Storage Capacity |
|---|---|---|---|---|
| Main Headboard Enclosure Box | 64″ W x 48″ H x 8.5″ D (Queen) | 3/4-inch Cabinet-Grade Birch Plywood | Heavy-Duty French Cleat Stud Mount | Overall structural enclosure shell |
| Slide-Out Side Pantry Shelves | 7.0″ W x 44″ H x 24″ D (Each side) | 1/2-inch Baltic Birch Plywood | 24-Inch Full-Extension Ball-Bearing Slides | Houses 30+ books, glasses, medicines, remotes |
| Top Flip-Lid Secret Well | 62″ W x 6.0″ D x 6.0″ Deep cavity | Solid Pine or Oak Top Crown Board | Soft-Close Concealed European Gas Struts | Conceals laptop, valuables, power strips |
| Internal Integrated Power Strip | 6 Outlets + 2 USB-C PD Ports | Fire-Retardant Aluminum Housing | Concealed Pass-Through Cord Grommet | Powers all nightstand tech with zero cords |
| Front Decorative Upholstered Face | 62″ W x 46″ H x 1.5″ Depth | High-Density Foam & Linen / Boucle Fabric | Hook-and-Loop Flush Magnetic Fasteners | Padded backrest that cushions sitting up |
Recommended Further Reading & Authoritative References
To deepen your understanding of these systems, review our companion analysis on Under-Bed Vertical Storage and Arranging a Small Bedroom. For official technical specifications and industry standards, consult the Family Handyman Built-In Storage & Woodworking Joinery Guides.
Environmental Optimization & Long-Term Sanctuary Maintenance
Creating a truly restorative bedroom environment around Concealed Headboard Storage requires a holistic approach that integrates acoustic control, seasonal thermal regulation, and clean air circulation. A bedroom is not simply a decorative room; it functions as a biological recovery sanctuary that directly impacts your neurological health.
Prioritize natural airflow and particulate management by implementing a HEPA air filtration system and washing bed textiles at optimal temperatures to eliminate dust allergens. Rotate mattresses every six months to distribute body weight evenly and prevent premature structural sagging in high-pressure contact zones.
Incorporate dimmable, warm-spectrum lighting (under 2700K) and eliminate ambient electronic standby LEDs to preserve natural melatonin secretion. Maintaining clean spatial boundaries between restful sleeping areas and active workspace zones supports consistent mental decompression each evening.
Comprehensive Ergonomic Implementation & Long-Term Maintenance Protocols
Implementing these spatial and environmental strategies successfully over extended periods requires continuous observation and systematic environmental auditing. Experienced interior planners recognize that baseline architectural dimensions must be dynamically adapted to suit the unique physical geometry, ceiling heights, and personal lifestyle routines of each occupant. By maintaining a disciplined approach to room flow and decluttering, you establish an enduring living environment that promotes deep restorative sleep, stress-free morning routines, and exceptional day-to-day comfort.
Furthermore, maintaining strict adherence to validated ergonomic standards prevents the subtle onset of chronic physical fatigue or environmental claustrophobia. Regularly verifying walkway clearances, mattress support integrity, and acoustic thresholds safeguards your sleeping sanctuary against common spatial errors. When you invest the effort to design and maintain a meticulously curated bedroom layout, you establish a space of enduring tranquility and superior functional elegance.
Frequently Asked Questions
Can I build this headboard if I rent my apartment?
Yes! If you cannot drill large holes for a French cleat, build the headboard with a wide, weighted bottom platform base that sits firmly on the floor, and anchor it to the wall studs using two small, easily patchable safety L-brackets.
How do I upholster the front face of the headboard?
Cut a sheet of 1/2-inch plywood 2 inches smaller than your headboard face. Spray high-density 2-inch upholstery foam with adhesive, wrap it tightly in batting and your chosen fabric (boucle, velvet, or linen), and staple it to the back. Mount the upholstered panel to the headboard chassis with heavy-duty interlocking Z-clips.
What tools are required to build this concealed headboard?
You will need a circular saw with a fine-finish blade (or table saw), a pocket hole jig (like Kreg), a cordless drill/driver, a 4-foot bubble level, a tape measure, and basic clamps.
Can I integrate reading lights into the storage headboard?
Yes! Drill holes in the front face to install hardwired low-voltage flexible gooseneck LED reading lights. Connect their wiring directly into the internal surge protector inside the top well.